I fell down the rabbit hole with some recent videos showing how easy it is to make your own Midori-style Traveler’s notebook and had to give it a try. After watching several YouTube tutorials, I found one from Makesupply which immediately felt like the best one. I can’t recommend Makesupply highly enough – their tutorial was step by step and easy to follow, with a list of recommended suppliers for the materials, and they also offer either printable templates or full acrylic templates for purchase.
I chose to make the pocket size, which will fit a pocket size notebook such as Field Notes. Typically, a leather cover for a notebook of this size will range between $30-$90 depending on how fancy you want to get. I purchased a small roll of leather from European Leather Works for $33 and I will be able to make 3 leather covers out of this roll. Of course, I also had to pay for the elastic bindings as well as investing in a scratch awl, which brought my total cost up to around $60 for the project.
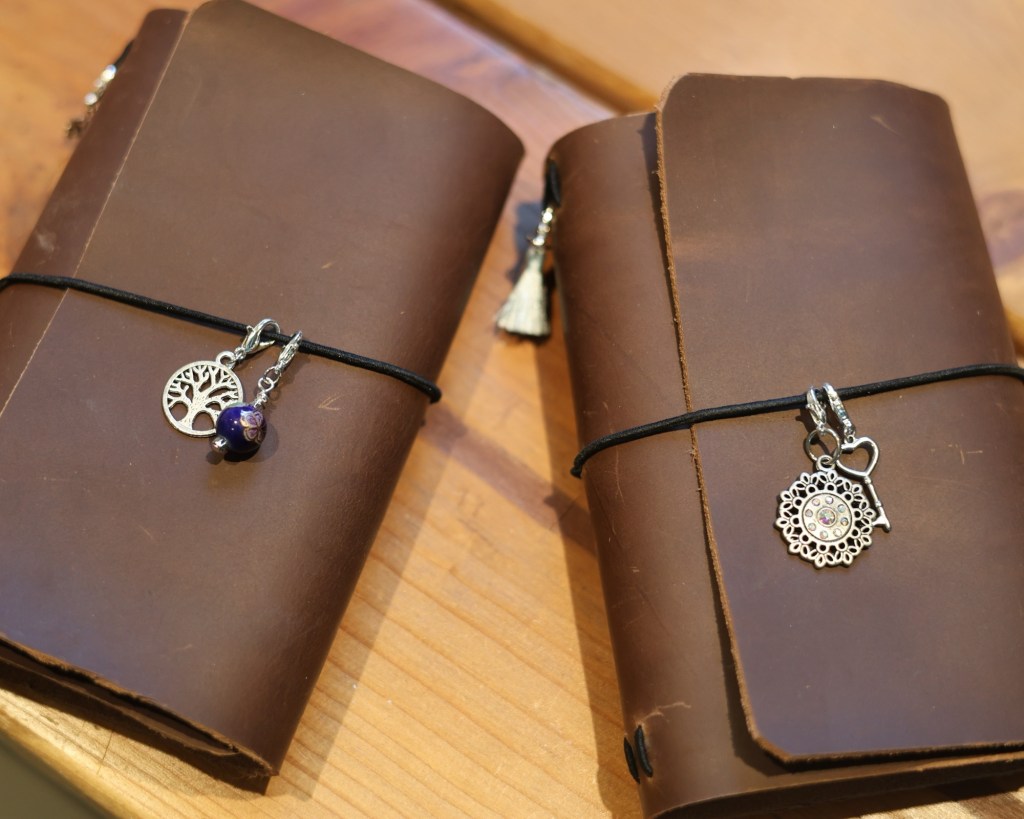
I’m not great at cutting the leather yet – you use an Xacto knife and I was a little hesitant with my cuts, which resulted in a bit of an untidy edge on my first cover. I think, however, since I purchased natural full-grain leather that will age and weather, those edges will wear with time and hopefully just lend to the overall character of the cover.
I made one for myself and one for my daughter, and we picked out our own charms from my supply – I already have a huge stash of beads, charms, clasps, etc. on hand from my beading hobby. Putting each little charm on lobster clasps means we can swap charms out easily and add as many as we like. (I fell down another rabbit hole and made a lot of these, which means I will also be putting some notebook charms into my Etsy shop.)
